
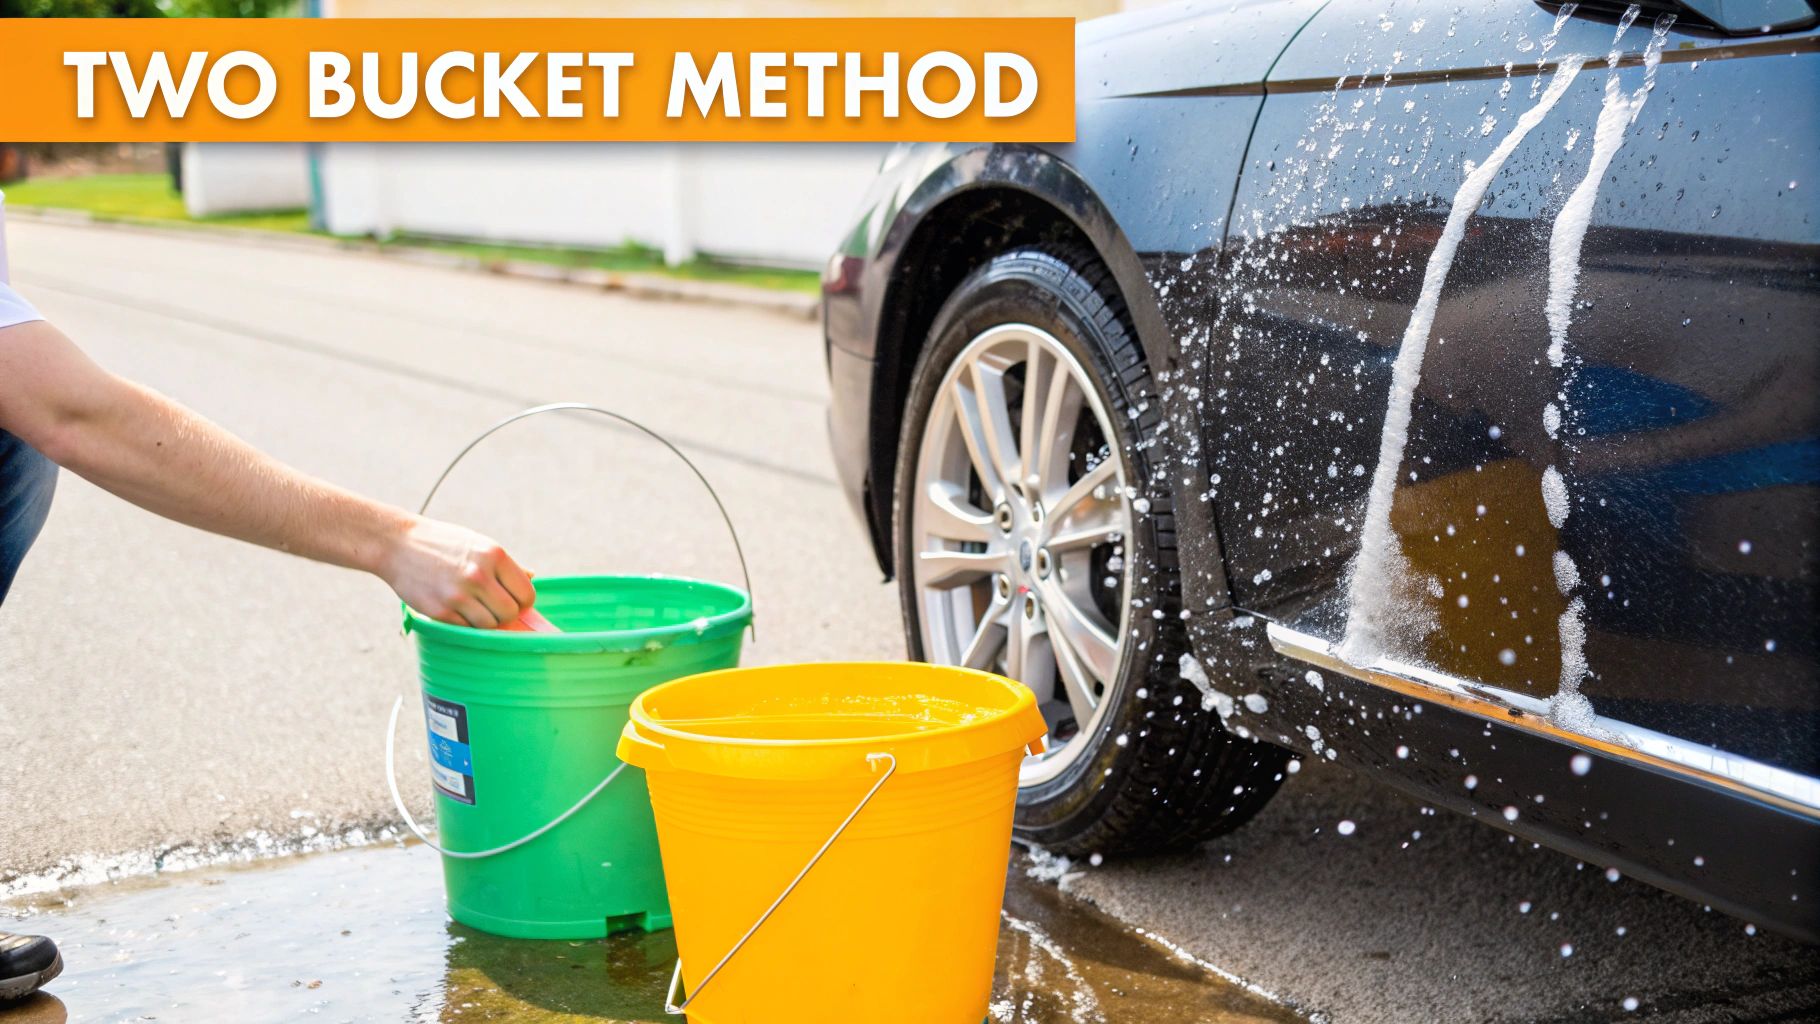
The 2 bucket wash method is a straightforward, yet incredibly effective, technique for washing your car. The whole idea is to keep your clean, soapy water separate from the dirty water you use to rinse your wash mitt. By using one bucket for shampoo and another just for rinsing, you stop dirt and grit from ever going back onto your car's paint, which dramatically cuts down the risk of swirl marks and scratches.
Why This Method Is a Game-Changer for Your Car's Paint
Let's be honest, those frustrating swirl marks are the enemy of a perfect shine. They're those fine, web-like scratches that seem to pop out only in direct sunlight, making your car’s finish look dull. The number one cause? More often than not, it's the old-school single-bucket wash.
Think about it. When you're using just one bucket, every single time you dunk your wash mitt back into the soapy water, you’re reintroducing all the gunk you just pulled off the car. You're basically turning your bucket into a gritty soup of dirt, brake dust, and road grime.
Suddenly, your soft wash mitt isn't so soft anymore. It's now acting like a piece of fine-grit sandpaper. With every wipe across your vehicle, you're dragging those tiny, abrasive particles over the delicate clear coat, creating thousands of microscopic scratches that build up over time.
The Science of a Scratch-Free Wash
The two-bucket system isn't just some fussy habit for professional detailers; it's the cornerstone of preserving your car's finish and value. The entire principle is built on one simple idea: isolation. By having a dedicated bucket just for rinsing your dirty mitt, you trap all those nasty contaminants and keep them far away from the clean, sudsy water that actually touches your paint.
This separation is the single most effective way to prevent the damage caused by washing. In fact, some analyses suggest this approach can slash the likelihood of paint damage by over 70% compared to a single-bucket wash.
Key Takeaway: The goal isn't just to get the car clean. It's to remove dirt safely without causing damage in the process. The two-bucket method ensures the only thing touching your paint is a clean mitt loaded with fresh, lubricating soap.
Beyond Just a Wash
This simple change in your routine is what sets the stage for a truly professional result right in your own driveway. A clean, scratch-free surface is the perfect canvas for waxes, sealants, or ceramic coatings to bond properly and look their absolute best.
Of course, a proper wash is just one part of a complete car care regimen. It fits into a wider picture of broader car maintenance considerations that keep your vehicle in top shape. Taking this one extra step during your wash routine pays off big time, helping you maintain your car's long-term appearance and, ultimately, its resale value.
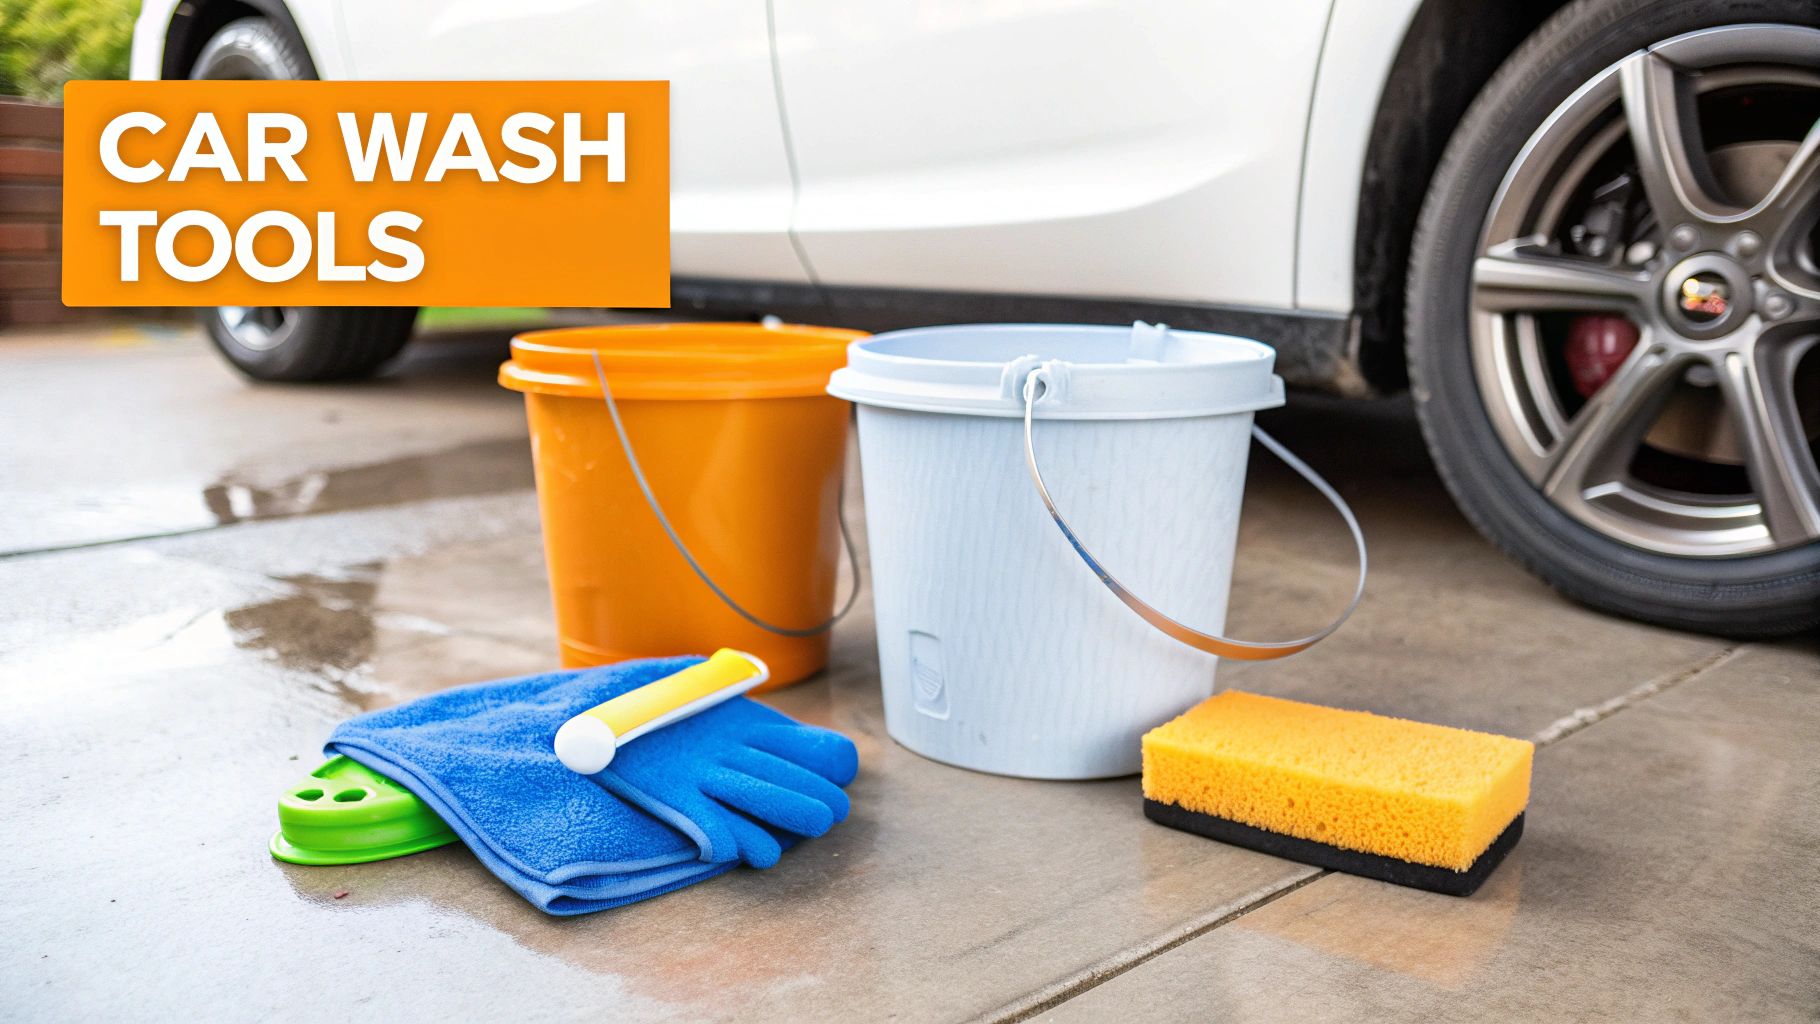
Assembling Your Scratch-Free Washing Toolkit
Getting that showroom shine at home has less to do with a garage packed with high-tech gadgets and more to do with having the right gear. A smart, simple toolkit is the real secret behind the 2 bucket wash method, turning a weekend chore into a paint-preserving detailing session.
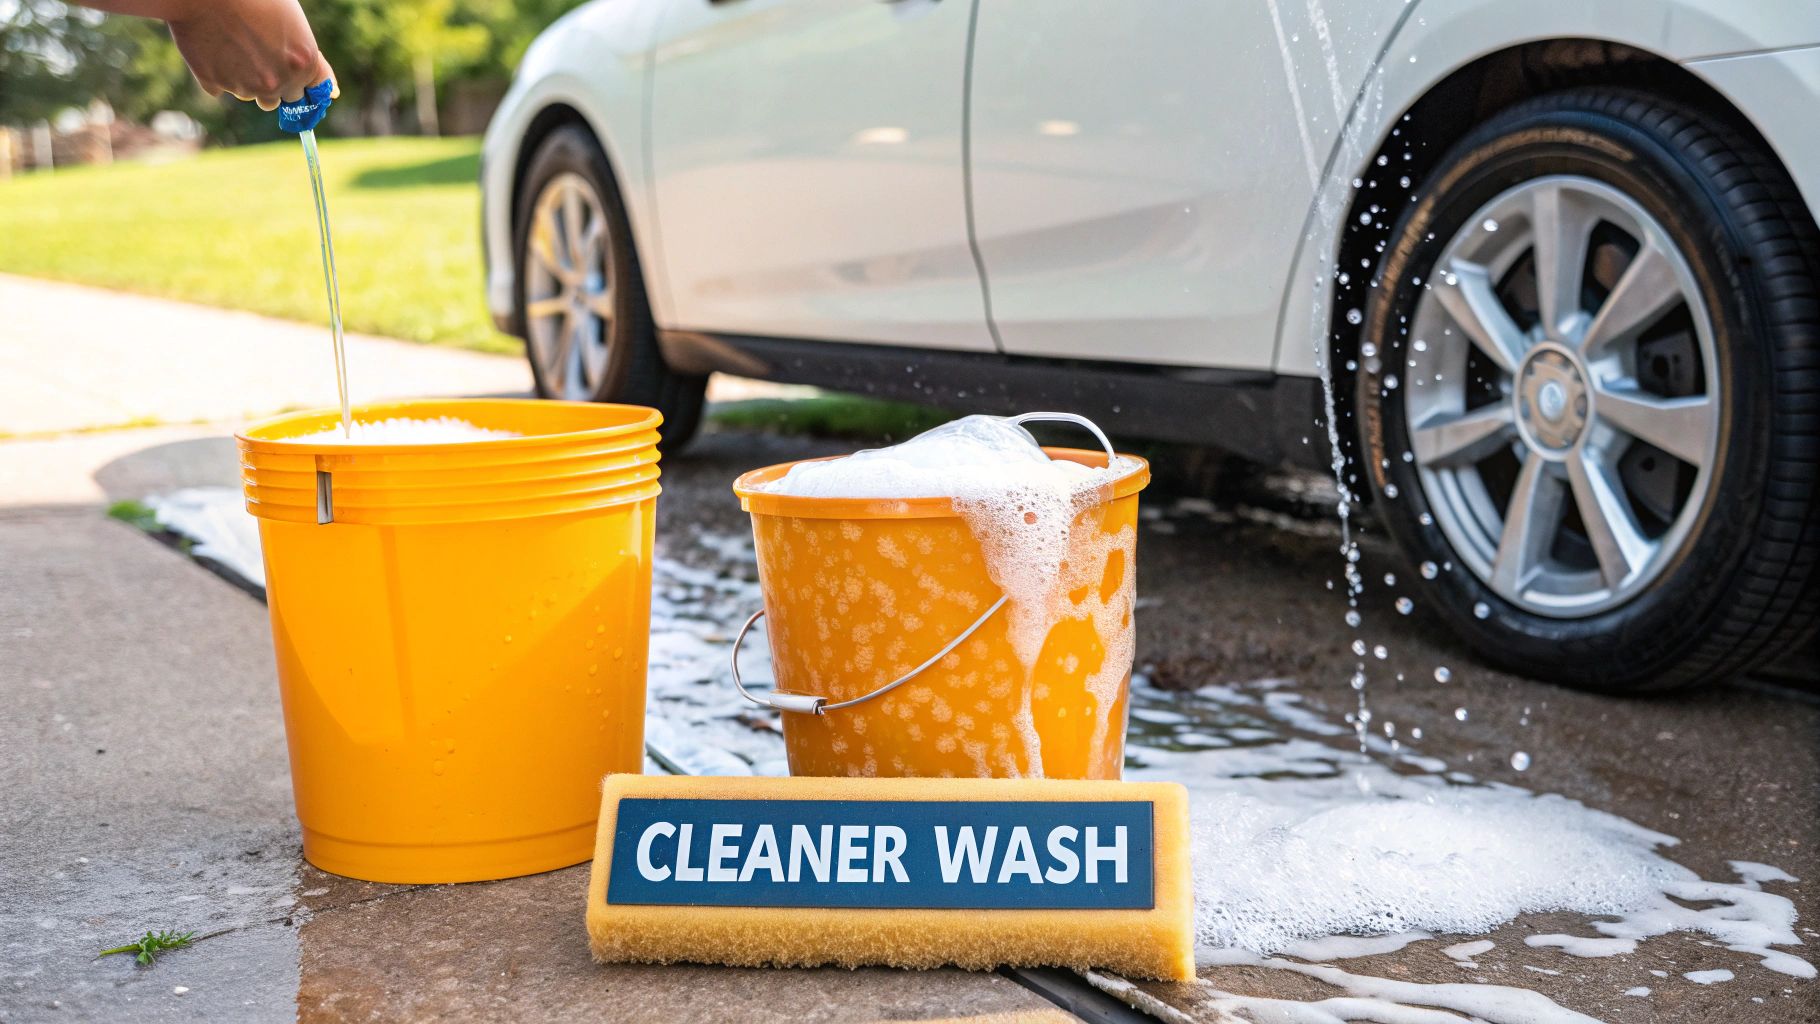
The heart of this setup is, you guessed it, a pair of buckets. I always recommend grabbing two different colors or at least slapping a "Wash" and "Rinse" sticker on them. It’s a dead-simple way to avoid mixing them up when you're in the zone.
But what goes inside the buckets is what really counts.
The Essential Safety Nets
You absolutely need a Grit Guard for each bucket. This little plastic insert is your paint’s best friend. It sits at the bottom, creating a barrier that traps all the nasty dirt and abrasive bits you pull off your car.
When you dunk your gritty mitt into the Rinse bucket and rub it against the guard, all that junk gets dislodged and sinks safely to the bottom. This one cheap tool prevents you from picking that same grit back up and dragging it all over your car’s finish. It’s a sobering fact, but some studies show that a shocking 90% of swirl marks and light scratches come from bad washing habits—and this is a big one.
Pro Tip: A Grit Guard in the rinse bucket is non-negotiable. But I always put one in my soap bucket, too. It’s an extra layer of insurance, making sure any rogue particles stay put, far away from my clean mitt.
Choosing the Right Tools for Contact
What you physically touch your car with is just as important as your bucket strategy. First things first: throw away any old sponges or chamois cloths you have lying around. Seriously. Sponges are notorious for trapping dirt in their pores and just grinding it into your paint.
Instead, your go-to should always be a plush microfiber wash mitt. Its long, soft fibers are designed to lift grit away from the surface, pulling it deep into the pile where it can’t do any harm.
Here's what I keep in my detailing arsenal:
- Microfiber Wash Mitt: It's infinitely gentler and safer on paint than any sponge.
- pH-Neutral Shampoo: This is critical. A good pH-neutral soap cleans thoroughly without stripping off your car's wax, sealant, or ceramic coating. Using something harsh like dish soap will just undo all your hard work.
- A Foam Gun: This is where the magic really starts. Kicking off the wash with a tool like the SwiftJet foam gun is a total game-changer. It blankets your car in thick suds that start breaking down and lifting away the heavy grime before your mitt ever touches the paint.
Using a foam gun correctly can be the difference between a good wash and a flawless one. For a deeper dive, check out this ultimate guide to choosing an auto foam gun to get the best results.
With these key items in hand, you’ve built a complete system designed to get your car sparkling clean without causing any damage.
Your Complete Walkthrough to a Perfect Wash
Alright, you've got your scratch-free toolkit ready to go. Now, let's put it all into action. This is the exact process I've honed over years to get a perfect, swirl-free finish every single time. The secret isn't about speed; it's about being methodical and deliberate to protect your paint while getting that incredible shine.
First things first, and this happens before a single drop of water hits your car: pick your spot. You absolutely want to work in the shade or at least on a cloudy day. Direct sunlight is your worst enemy here, as it'll bake soap and water onto your paint, leaving behind stubborn spots that are a nightmare to remove.
Honestly, just understanding the right environment can make a huge difference. Getting a handle on the best conditions for washing sets you up for an easy win before you even start.
Setting the Stage for Success
Once you're safely out of the sun, it’s time for the pre-wash rinse. Grab your garden hose or a pressure washer (on a safe, low-pressure setting!) and give the entire vehicle a thorough spray down. Always start at the top and work your way down. The whole point is to knock off all the loose dirt, dust, and grime that's just sitting on the surface.
Don't skip this. This initial rinse is non-negotiable because it dramatically cuts down on the amount of abrasive grit your wash mitt has to deal with later. Think of it like sweeping up the big debris on a floor before you mop—it just makes the real cleaning safer and more effective.
For an even better pre-wash, now is the perfect time to break out your SwiftJet foam gun. Covering the car in a thick blanket of foam lets the suds cling to the surface, where they can dissolve and encapsulate dirt particles, gently lifting them away from the paint. This step provides fantastic lubrication for the contact wash that's about to happen.
The Art of the Contact Wash
Now for the main event. You should have your two buckets ready to go, each with a Grit Guard sitting at the bottom. The Wash bucket is filled with your pH-neutral car soap solution, while the Rinse bucket should have nothing but clean, plain water.
The whole rhythm of the 2 bucket wash method is a simple, repeatable cycle designed to keep dirt away from your paint. This visual breaks it down perfectly.
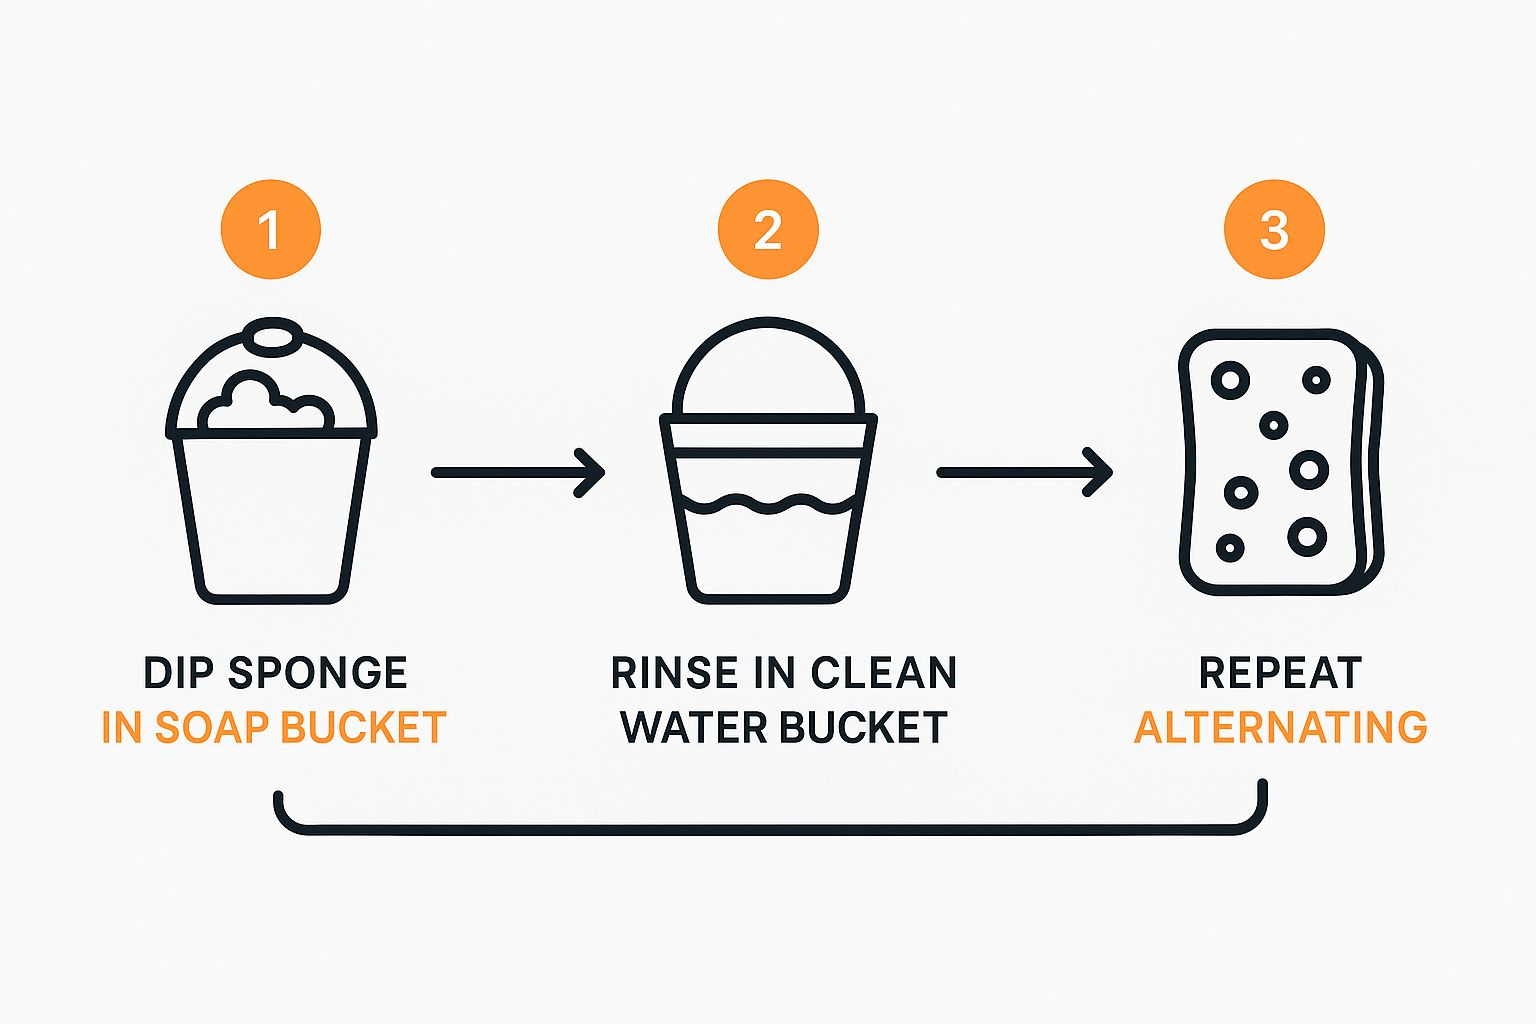
This simple process is what ensures your wash mitt is always clean before it gets reloaded with fresh suds. It's the key to isolating the dirt you remove from the paint you're trying to clean.
I always start with the roof and work my way down, tackling one panel at a time. It just makes sense—the upper parts of your car are usually the cleanest, and washing them first prevents you from dragging grime from the lower, dirtier areas back up onto a clean panel.
Here's the four-step dance for every single panel:
- Load Up: Dunk your clean microfiber mitt into the soapy Wash bucket.
- Wash Gently: Glide the mitt over a single panel. Use straight, overlapping lines. No aggressive scrubbing or frantic circular motions—that's how swirl marks are born.
- Rinse the Mitt: Before you even think about getting more soap, dunk that now-dirty mitt into the clean water of your Rinse bucket. Give it a good scrub against the Grit Guard at the bottom to release all the contaminants you just picked up.
- Reload and Repeat: With a clean mitt, you can now safely go back to the Wash bucket for fresh suds and move on to the next panel.
At the end of the wash, take a look at your buckets. The rinse water should be murky, and the wash water should still look pretty clean. That’s your proof that the system worked. You're literally looking at all the dirt you successfully kept away from your paint.
Rinsing and Drying for a Flawless Finish
With the whole car washed, it's time for the final rinse. Here's a pro tip: take the spray nozzle off your hose and use a gentle, free-flowing stream of water. Let it "sheet" across the surfaces from top to bottom. This technique actually pulls most of the remaining water and soap off with it, leaving a lot less for you to dry by hand.
For drying, a plush, high-quality microfiber drying towel is your best friend. The key here is to avoid rubbing. Instead, lay the towel flat on a section and gently pat it or drag it slowly across the surface to soak up the water. This last touch minimizes friction, giving you that final layer of protection against scratches.
If you want to dive even deeper, our complete 2 bucket car wash guide has even more pro tips and details.
Common Mistakes That Sabotage a Perfect Finish
Even with the best gear and a solid plan, a few simple slip-ups can easily undo all your hard work. Suddenly, that perfect finish you were aiming for is littered with spots and swirls. Knowing what these common traps are is the secret to making sure your 2 bucket wash method delivers that flawless, showroom shine every time.
One of the biggest mistakes I see people make is washing their car in direct, hot sunlight. It seems like a great idea on a beautiful day, but the sun instantly heats up your car's panels. This causes the water and suds to dry almost on contact, leaving behind ugly water spots and soap residue that’s a real pain to remove.
And it’s not just a cosmetic issue. Trying to scrub off that baked-on soap is a surefire way to introduce the very scratches you’re trying so hard to prevent. Do yourself a favor: always wash in the shade or wait for the cooler parts of the day, like early in the morning or later in the afternoon.
Choosing the Wrong Cleaning Agents
Another classic pitfall is grabbing whatever soap is handy, especially dish soap from the kitchen. It’s a tempting shortcut, but it’s an error that can cost you dearly in the long run.
Dish soaps are loaded with harsh degreasers that are fantastic for greasy pots and pans. On your car, however, they strip away everything—and I mean everything. One wash can completely remove the protective wax or sealant you've carefully applied, leaving your paint naked and exposed to the elements.
Always, always stick with a pH-neutral car wash soap. These are specifically formulated to break down dirt and grime without being aggressive enough to damage your car's essential protective layers.
Cross-Contamination and the Five-Second Rule
This is the one that can ruin a perfect wash in a split second. If you drop your wash mitt on the ground, do not pick it up and keep going. That mitt is now covered in abrasive grit and tiny rocks that will act just like sandpaper on your clear coat.
Crucial Tip: The five-second rule does not apply here. Ever. If your mitt hits the pavement, consider it contaminated. Either switch to a clean, spare mitt or stop what you're doing and rinse it out completely before it even thinks about touching your paint again.
In the same vein, using the same mitt or brushes for your filthy wheels and your car's paint is a recipe for disaster. Wheels collect some of the nastiest, most abrasive gunk on your car, especially brake dust. Dragging that grime across your paint is one of the quickest ways to create deep, ugly swirl marks.
Here’s how you sidestep this critical mistake for good:
- Dedicate tools just for wheels. Have a separate wash mitt, a few brushes, and maybe even a third bucket specifically for your wheels and tires.
- Always tackle the wheels first. This keeps brake dust and strong wheel cleaners from splashing onto the panels you just meticulously cleaned.
- Keep a spare mitt on standby. A backup mitt is cheap insurance against an accidental drop and can save your paint from a world of hurt.
Avoiding these common blunders is just as vital as following the steps correctly. After all, a clean car is nice, but a clean and scratch-free car is the real goal.
Pro-Level Techniques to Elevate Your Wash
So, you've got the 2 bucket wash method down. That's fantastic. Now you're ready to add a few tricks of the trade that can take your wash from great to genuinely professional. These aren't complicated changes, but they make a massive difference in protecting your car's finish.
Let’s talk about one of the most practical upgrades: adding a third bucket. I know, it might sound like overkill, but trust me, it’s a game-changer. Your wheels are, without a doubt, the filthiest part of your car. They’re caked in road grime and, more importantly, highly abrasive brake dust.
Dedicating a separate bucket just for your wheels and tires completely quarantines all that nasty stuff. This means those gritty, metallic particles from your brakes never even get a chance to touch your wash mitt or pollute your rinse water. It’s the single best way to add another layer of defense for your paint.
Strategic Foaming for Maximum Lubrication
A foam gun like the SwiftJet isn't just for show—it's a critical pre-wash tool. The real magic happens when you lay down a thick, clinging blanket of foam and let it sit for a few minutes.
This foam gets to work immediately, softening and lifting the heavy grit off the surface before you ever touch it with a mitt. It creates a super-slick barrier of lubrication. When you do start your contact wash, your mitt glides across the paint instead of grinding dirt into it. This step alone dramatically cuts down the risk of creating swirl marks.
Perfecting the Drying Process
How you dry your car is just as critical as how you wash it. All your hard work can be undone in minutes with a poor drying technique, leaving behind frustrating water spots and fine scratches. The secret for a perfect, streak-free finish is what we call the "two-towel" technique.
- The First Towel: Grab a large, plush microfiber drying towel. Instead of rubbing, just lay it flat on a panel and gently pull it towards you. This will soak up the majority of the water with zero friction.
- The Second Towel: Come back with a second, smaller, and perfectly clean microfiber towel. Use this one to lightly buff away any remaining droplets or faint streaks.
Want to take it one step further? Use a drying aid. A light mist of a quality detail spray on the panel (or onto your second towel) before you buff adds incredible gloss and a bit of protection. It turns drying into the final touch that makes the paint pop.
These pro-level tips build on the solid foundation of the two-bucket system. If you want more pointers on getting that showroom shine right in your own driveway, check out our complete guide on how to wash your car at home.
Answering Your Top 2 Bucket Method Questions
Switching up your car wash routine always brings a few questions to the surface. It's totally normal. Let's tackle some of the most common ones I hear so you can get started with the 2 bucket wash method feeling like a pro.
Are Grit Guards Really That Important?
In a word: absolutely. I like to think of them as a super cheap insurance policy for my car's paint job.
While using two buckets is a huge step up, the Grit Guards are what truly make the system work. They sit at the bottom of your buckets and act as a filter, trapping all the nasty grit and dirt you rinse off your wash mitt. This simple plastic disc prevents all that abrasive gunk from swirling back up into the clean water every time you dip your mitt.
Skipping them means you're still running the risk of dragging the same dirt you just removed right back across your paint. They’re a small investment for a massive amount of protection.
What About Washing a Ceramic Coated Car?
Yes, you should definitely be using this method. In fact, it's the gold standard for washing any vehicle with a ceramic coating, a fresh coat of wax, or paint protection film (PPF). These protective layers are designed to be tough, but they aren't scratch-proof.
A proper 2 bucket wash is the key to preventing swirl marks on the coating itself. Keeping the coating pristine is how you maintain that incredible gloss and water-beading effect for the long haul, protecting the investment you made in your car's finish.
How Often Should I Swap Out the Water?
For a typical wash on a standard-sized car, one set of buckets will do the trick. You'll probably be surprised (and a little satisfied) to see just how murky that rinse bucket gets. That's a good thing! It's visual proof that the system is working exactly as it should.
Now, if you're dealing with a much larger vehicle, like a big SUV or truck, or if you're cleaning off a ton of mud after an off-roading trip, it's smart to be a bit more cautious. My rule of thumb is to dump and refill the rinse bucket about halfway through the wash. This just guarantees your mitt is getting as clean as possible every single time.
Ready to take your wash game to the next level? The SwiftJet Foam Gun is the perfect partner for the 2 bucket method. It lays down a thick layer of foam to lift and lubricate dirt before you ever touch the paint, making your wash even safer. Grab yours at https://swiftjetusa.com and see the difference it makes.