
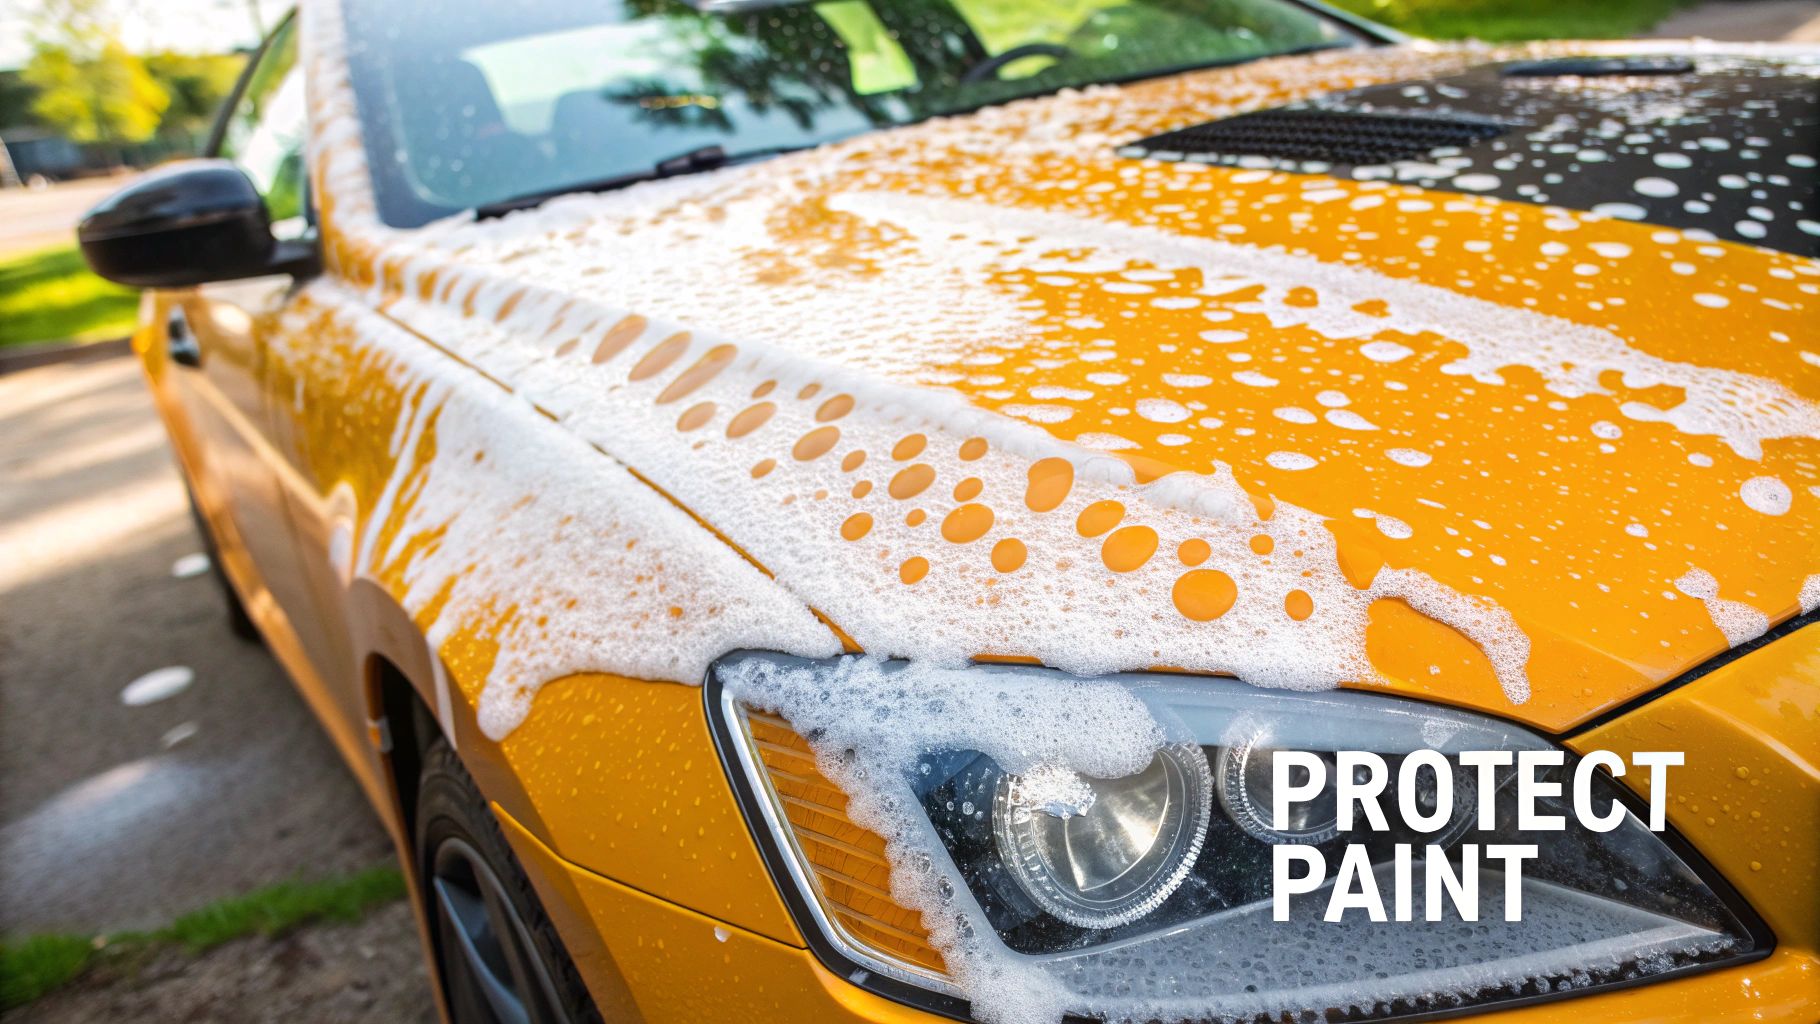
If you've ever seen a car blanketed in a thick, shaving-cream-like layer of suds, you're looking at more than just a cool photo op. That's a foam car soap doing its job, and it’s a total game-changer for keeping your paint looking pristine.
Why Foam Car Soap Is a Must-Have for Your Wash Routine
Unlike regular car wash soap you'd dump in a bucket, foam soaps are engineered specifically to work with a foam cannon or foam gun. Their whole purpose is to create a dense, clinging lather that hangs around, giving the cleaning agents time to work their magic. This foam is your first line of defense against the swirl marks and fine scratches that plague so many daily drivers.
The secret is what we call a "touchless" or, more accurately, a "less-touch" pre-wash. The goal is to get the grimiest stuff off your car before you ever lay a wash mitt on it.
When you spray on that thick foam, it’s not just sitting there looking pretty. The specialized cleaning agents, called surfactants, immediately get to work. They dive in, surround the abrasive particles—think dirt, dust, and road grime—and start lifting them away from the paint's surface.
The Real-World Impact on Your Paint
Imagine the foam as a slick, lubricating cushion. It creates a protective barrier between your car's delicate clear coat and all that gritty contamination.
By the time you grab your wash mitt, the most harmful dirt has already been loosened and is now suspended in the foam, not caked onto your paint. This dramatically cuts down the risk of you dragging those abrasive particles across the finish, which is the number one cause of swirl marks. This single adjustment to your wash routine can make all the difference in preserving that deep, glossy shine for years.
The whole point of a foam pre-wash is to remove as much dirt as possible before you touch the paint. That simple principle is the foundation of a scratch-free wash.
This isn't just a niche trend for detailing enthusiasts anymore. The global car wash detergent market was valued at around $2.97 billion and is expected to hit $4.39 billion by 2035. That massive growth shows a real shift in how people care for their cars, moving towards specialized products that deliver professional results. If you're curious, you can explore more about the car wash soap market growth and see the data for yourself.
How to Choose the Right Foam Car Soap for Your Needs
Walking into the car care aisle can be overwhelming. You're faced with a wall of brightly colored bottles, each one promising a mirror-like shine. So, how do you pick the right foam car soap?
The secret is to tune out the marketing noise and think about what your car actually needs. It really boils down to one critical factor: the soap's pH level.
For 95% of your washes, you’ll want to reach for a pH-neutral soap. These are the workhorses of car detailing. They're designed to be tough on dirt and road grime but incredibly gentle on your paint and any protection you have on it. If you have a wax, sealant, or ceramic coating, using a pH-neutral soap is the only way to make sure it lasts.
What to Look For on the Label
Once you've zeroed in on the pH-neutral section, a couple of other terms will help you find the perfect bottle. Knowing what they mean will make you a much smarter shopper.
- Lubricity: This is just a fancy word for how slick the soap is. High lubricity is your best defense against swirl marks, as it creates a slippery cushion between your wash mitt and the paint, minimizing friction.
- Hydrophobic Properties: You'll see this on more advanced soaps. They leave behind a temporary protective layer that makes water bead up and roll right off. It not only looks great but also makes drying the car much easier.
Here’s a simple way to think about it: A pH-neutral soap is for maintenance. A high-pH soap is for major surgery. You only break out a high-pH "strip wash" when you're preparing for a full paint correction or applying a new ceramic coating, because its job is to dissolve old waxes and sealants.
Foam Car Soap Selection Guide
To make it even easier, here’s a quick comparison to help you choose the best foam soap for your car's specific needs and paint protection type.
| Soap Type | Best For | Key Feature | When to Use |
|---|---|---|---|
| pH-Neutral | Routine washes, protected cars (wax, sealant, ceramic) | Gentle cleaning without stripping protection | 95% of the time; weekly or bi-weekly washes |
| Wash & Wax | Adding a quick boost of shine and protection | Contains carnauba or synthetic polymers | When your existing wax is fading or you need a quick touch-up |
| Strip Wash | Preparing paint for detailing, polishing, or coating | High-pH formula that removes old waxes/sealants | Before a full paint correction or applying new protection |
| Ceramic-Infused | Cars with ceramic coatings or for a silica (SiO2) boost | Enhances and tops up existing ceramic coatings | Every wash on a coated vehicle to maintain hydrophobic properties |
This table should help you quickly identify what you need for the job at hand, whether it's a simple upkeep wash or a full-blown detail prep.
Matching the Soap to the Job
Let's put this into practice. Say you're washing your well-maintained, ceramic-coated sedan on a Saturday morning. You'd grab a gentle, high-lubricity pH-neutral foam. On the other hand, if you've just come back from an off-roading trip and your truck is caked in mud, you might want a slightly stronger (but still wax-safe) formula to help break down all that contamination.
This shift toward specialized car care isn't just a niche trend. The global car wash shampoo market was valued at $3.8 billion in 2023 and is on track to hit $6.2 billion by 2032. It’s clear that more and more people are looking for products that do more than just clean—they want real paint protection.
For a curated list of our favorite products that deliver on these promises, check out our guide on the 7 best car wash soaps for a foam cannon.
Getting Your Foam Cannon and Soap Mix Just Right
If you want that super-thick, satisfying foam, it really comes down to two things: your gear and your ratios. You'll need a pressure washer and a good foam cannon. Sure, a garden hose foam gun is better than nothing, but a pressure washer provides the serious agitation needed to whip that soap and water into a dense, shaving-cream-like lather that actually sticks to your paint.
The real secret sauce, though, is nailing the soap-to-water dilution. A solid starting point for most foam cannons is to mix 1 to 2 ounces of foam car soap with about 10 to 15 ounces of warm water.
Don't skip the warm water part—it’s a small detail that makes a big difference. It helps the concentrated soap dissolve completely, so you don't get clumps and the mixture is perfectly consistent from start to finish.
Fine-Tuning Your Foam
Once you have that initial mix, it’s time to dial in the perfect consistency. Your foam cannon has a couple of adjustments that you'll get to know very well.
- The Top Dial: This is your soap-to-water ratio control. Crank it towards the '+' sign to pull more soap solution from the bottle and create thicker foam. Turn it towards the '-' sign for a thinner, runnier mix.
- The Nozzle: Twisting the very front of the nozzle adjusts the spray pattern. A wide fan is perfect for blasting over big panels like the roof or doors, while a focused stream lets you target specific grimy spots.
Don't be afraid to play around with these settings. Things like the hardness of your water and how concentrated your particular soap is will mean you need to tweak things a bit to find that perfect sweet spot.
What you're looking for is foam that's thick enough to hang onto vertical surfaces for a few minutes without immediately sliding off. That "dwell time" is prime time—it’s when the soap is actively lifting dirt and grime away from the paint.
This push for better, safer ways to clean cars is a big reason the foam and presoak detergent market in North America was valued at over $2.64 billion. For a much deeper dive, our foam cannon soap ratio guide has even more tips for getting that perfect foam every time.
It’s clear car owners are looking for methods that protect their investment, a trend that's reflected in the $14.74 billion U.S. car wash services market. You can learn more about the car wash soap market dynamics to see how these trends are shaping the industry.
A Practical Walkthrough of the Foam Wash Process
Got your gear ready and your soap mixed? Great. Let's walk through the wash process just like the pros do to get those perfect, swirl-free results.
First things first, never skip the pre-rinse. Grab your pressure washer or a garden hose with a strong jet nozzle and spray the car down from the top. Get all that loose dirt, dust, and road grime off. You'll want to hit the wheel wells and the lower body panels especially hard—that's where the worst of it collects. Getting the heavy, abrasive stuff off now makes the rest of the wash so much safer for your paint.
Applying the Foam and Letting It Work
Alright, here's the fun part. When you start spraying the foam car soap, there's a trick to it: start at the bottom of the car and work your way up to the roof.
Why go against gravity? Simple. The dirtiest parts of your car are down low. This method gives them the most time to soak in the suds. If you started at the top, the clean foam would just run down and wash away the soap on those grimy lower panels before it had a chance to work.
Once the car is covered in a thick blanket of foam, just let it sit. You're looking for a dwell time of about 3 to 5 minutes. This gives the soap enough time to grab onto the dirt and lift it away from the paint. Be careful not to let it dry, though. If you're washing in direct sun or on a hot day, you might have to work in smaller sections to keep this from happening.
Pro Tip: If you see the foam starting to dry out, just give that spot a quick mist of water or a fresh hit of foam. The golden rule is to never let soap dry on your paint. It’s a surefire way to get stubborn water spots and nasty residue.
Adding the Hand Wash for a Deeper Clean
If your car is dealing with more than just a light layer of dust, the foam is the perfect first step for a traditional hand wash. After the foam has dwelled for a few minutes, you can grab your wash mitt and use the two-bucket method to gently clean the surface. The foam creates an incredibly slick cushion, which dramatically lowers the risk of creating those fine scratches and swirl marks.
Getting your soap mixture right is the foundation for thick, effective foam. This simple visual breaks it down.
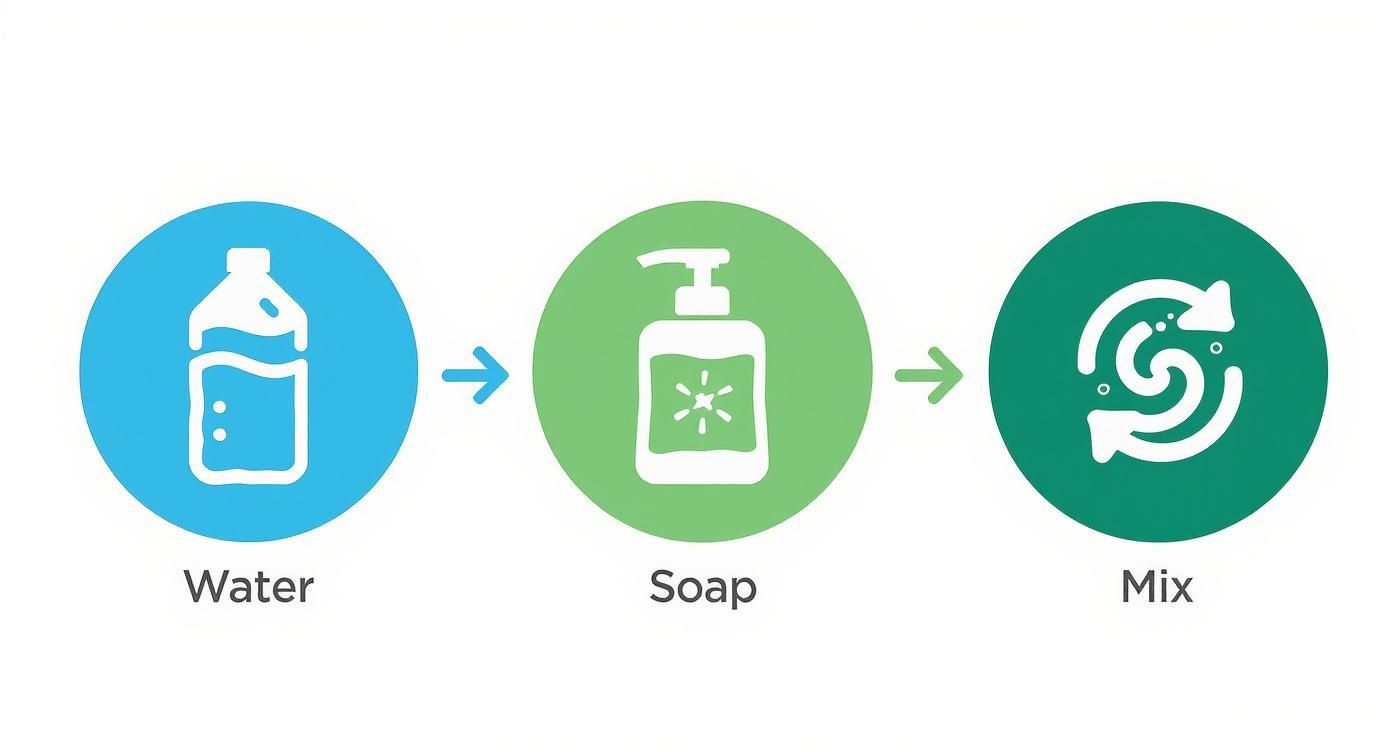
When the soap is mixed properly like this, you get that consistent, clingy foam you're looking for.
Finally, it's time to rinse everything off. Just like the pre-rinse, you’ll want to start at the top and work your way down. This lets all the soap and dirt flow off the car logically, so you aren't splashing dirty water onto a panel you just cleaned. Use a smooth, overlapping motion with the water stream to make sure you get all the soap out of tricky spots like panel gaps, behind the mirrors, and around the trim. A really good rinse is what sets you up for a perfect, spot-free finish.
Don't Ruin Your Hard Work: Drying and Protecting Your Finish
You've just given your car a fantastic foam bath, and it's looking pristine. But don't drop the ball now—a perfect wash can be completely wrecked by a poor drying job. Letting it air dry is a surefire way to get stubborn water spots, and grabbing an old bath towel can drag hidden grit across the paint, creating fine scratches.
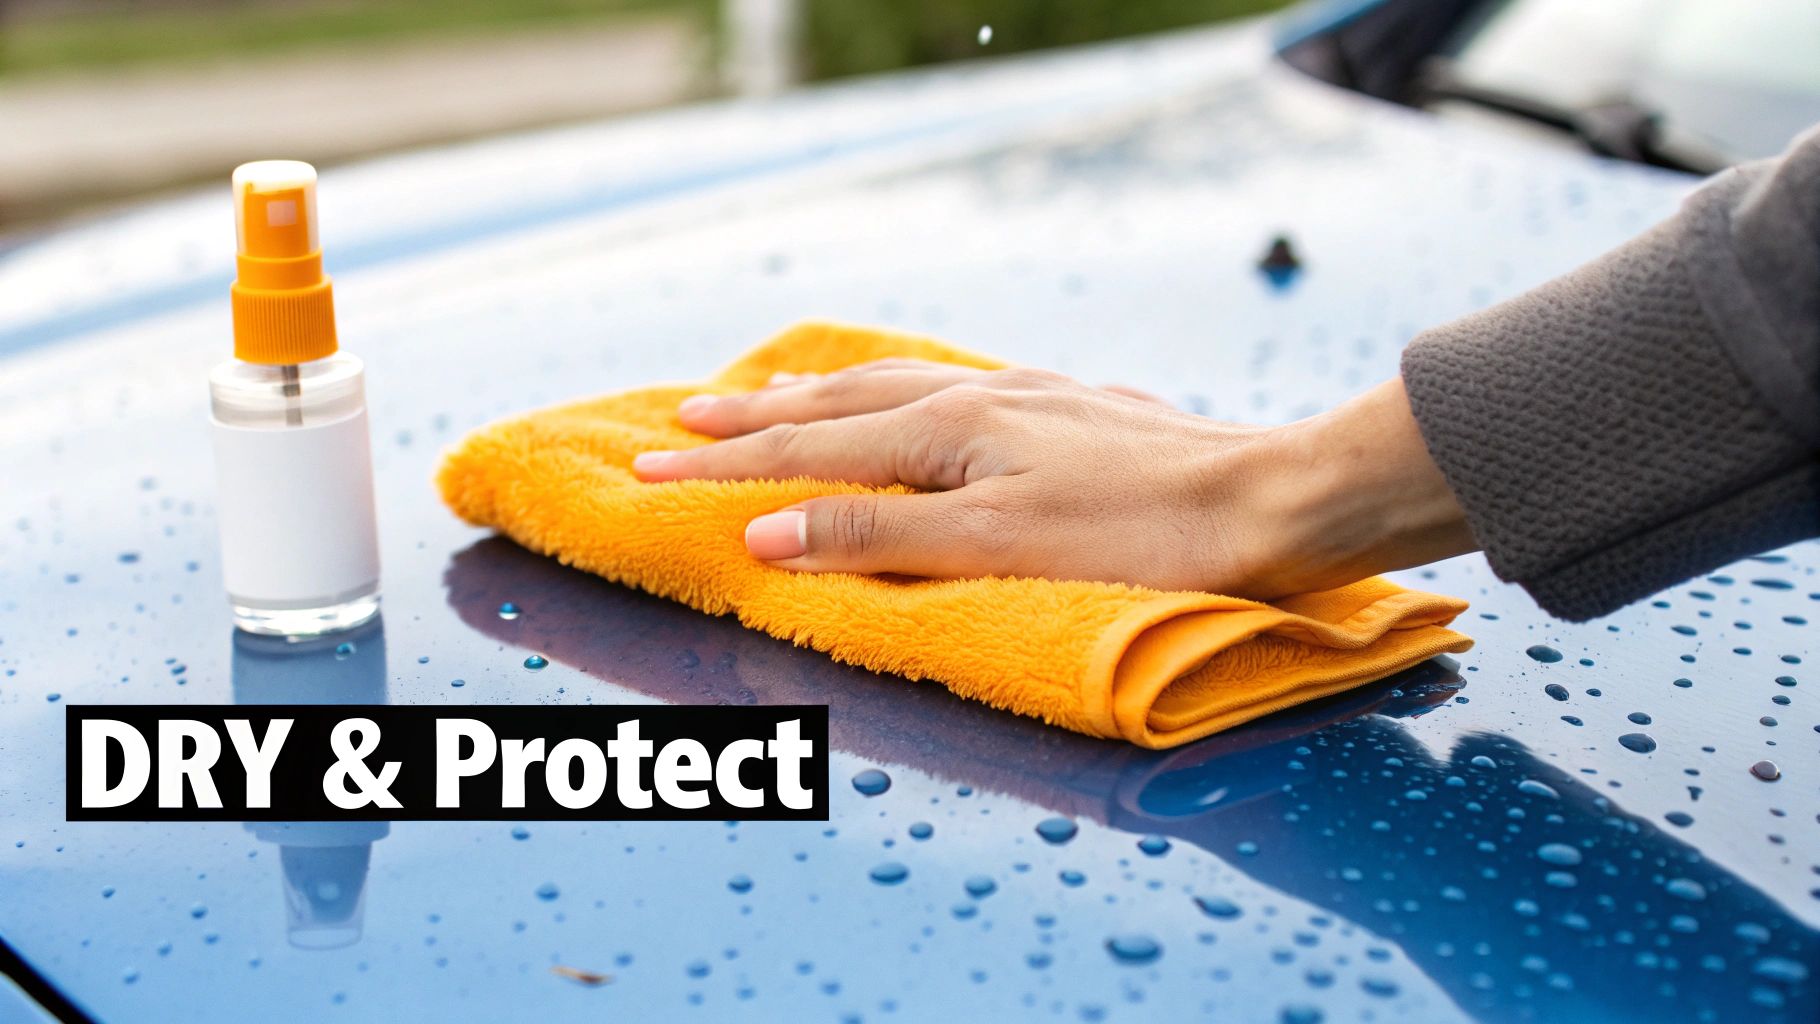
The best approach? Grab a large, high-quality microfiber drying towel. The key is to blot, not rub. Just lay the towel flat across a panel, like the hood or roof, and gently pat it down. You'll be amazed at how much water it soaks up. Lift, wring it out when it gets saturated, and move on to the next section. This simple technique is the safest way to dry your paint without causing swirls.
If you want to go completely touch-free, a leaf blower or a dedicated car dryer is your best friend. It’s perfect for blasting water out of tricky spots like grilles, mirror housings, and emblems where towels can't reach. No more annoying drips ruining your perfect finish! For a deeper dive, we have a whole guide on the best way to dry your car after washing.
Lock in That "Just Washed" Gloss
With the car bone dry, there's one last step that makes all the difference. Grab a quality spray wax or quick detailer to add a final layer of shine and protection.
Think of a quick detail spray as the finishing touch that makes your paint pop. It only takes a few extra minutes, but it leaves behind a slick, glossy surface that makes the color look deeper and richer.
This isn't just for looks, either. That slick layer makes it harder for dirt and grime to stick, so your next wash will be even easier. Taking the time to dry and protect your car properly is one of the most important tips on how to make your car last longer, preserving its paint and value for years to come.
Got Questions About Foam Car Soap? We've Got Answers
So you've got the gear, but you still have a few questions before you cover your car in a thick blanket of suds. That's smart. Getting these details right is what separates a quick, satisfying wash from a frustrating afternoon. Let's clear up some of the most common things people ask.
Do I Absolutely Need a Pressure Washer?
This is probably the number one question I hear. While a pressure washer paired with a foam cannon gives you that super-thick, shaving-cream-like foam you see online, it's definitely not a requirement.
You can get fantastic results with a quality foam gun that just hooks up to your garden hose. The foam might be a little runnier, but it still has more than enough cleaning power and lubrication to lift dirt safely. It’s a huge step up from the old bucket-and-sponge method.
Will This Stuff Strip My Wax or Ceramic Coating?
It's a valid concern—you spent time and money protecting your paint, and you don't want to wash it all away. The key is choosing the right soap.
For all your regular washes, stick with a pH-neutral foam soap. These are specifically designed to be tough on road grime but gentle on your last step product (LSP), whether that’s a wax, sealant, or ceramic coating. High-pH or "strip wash" soaps have their place, but only when you're intentionally trying to remove an old layer of protection before a full detail.
I always tell people to let the foam sit on the car for about 3 to 5 minutes. This is the sweet spot where the soap has enough time to work its magic and loosen up all the dirt. The golden rule? Never, ever let the foam dry on the paint, especially in the sun. That's a recipe for spots that are a real pain to remove.
And if you do find yourself with stubborn spots after rinsing, especially on your glass, this guide on how to effectively remove hard water stains is a great resource.
Is Foam Washing a Totally Touchless Process?
For a car with just a light layer of dust, you might get away with a rinse-foam-rinse process. For the rest of us driving in the real world, it's more of a "less-touch" wash.
Think of the foam as the perfect pre-soak. It does the heavy lifting, pulling away the larger, abrasive particles of grit and dirt that cause swirls and scratches. This makes the gentle follow-up with a wash mitt incredibly safe and effective. You’re not grinding that dirt into your clear coat—you're just wiping away the softened grime that’s left.
Ready to see the difference for yourself? The SwiftJet Car Wash Foam Gun turns any standard garden hose into a foam-blasting machine, giving you that pro-level clean without the pro-level cost. Shop the SwiftJet Foam Gun today and give your car the scratch-free wash it deserves.