
When you find road paint on your car, the mantra is simple: act fast, but don't rush. Fresh paint can often be handled with a good wash and a bug and tar remover, but paint that has had time to cure will demand more patience and stronger solutions. The golden rule is to always start with the gentlest method first to protect your car’s delicate finish.
What to Do Immediately After Finding Road Paint on Your Car
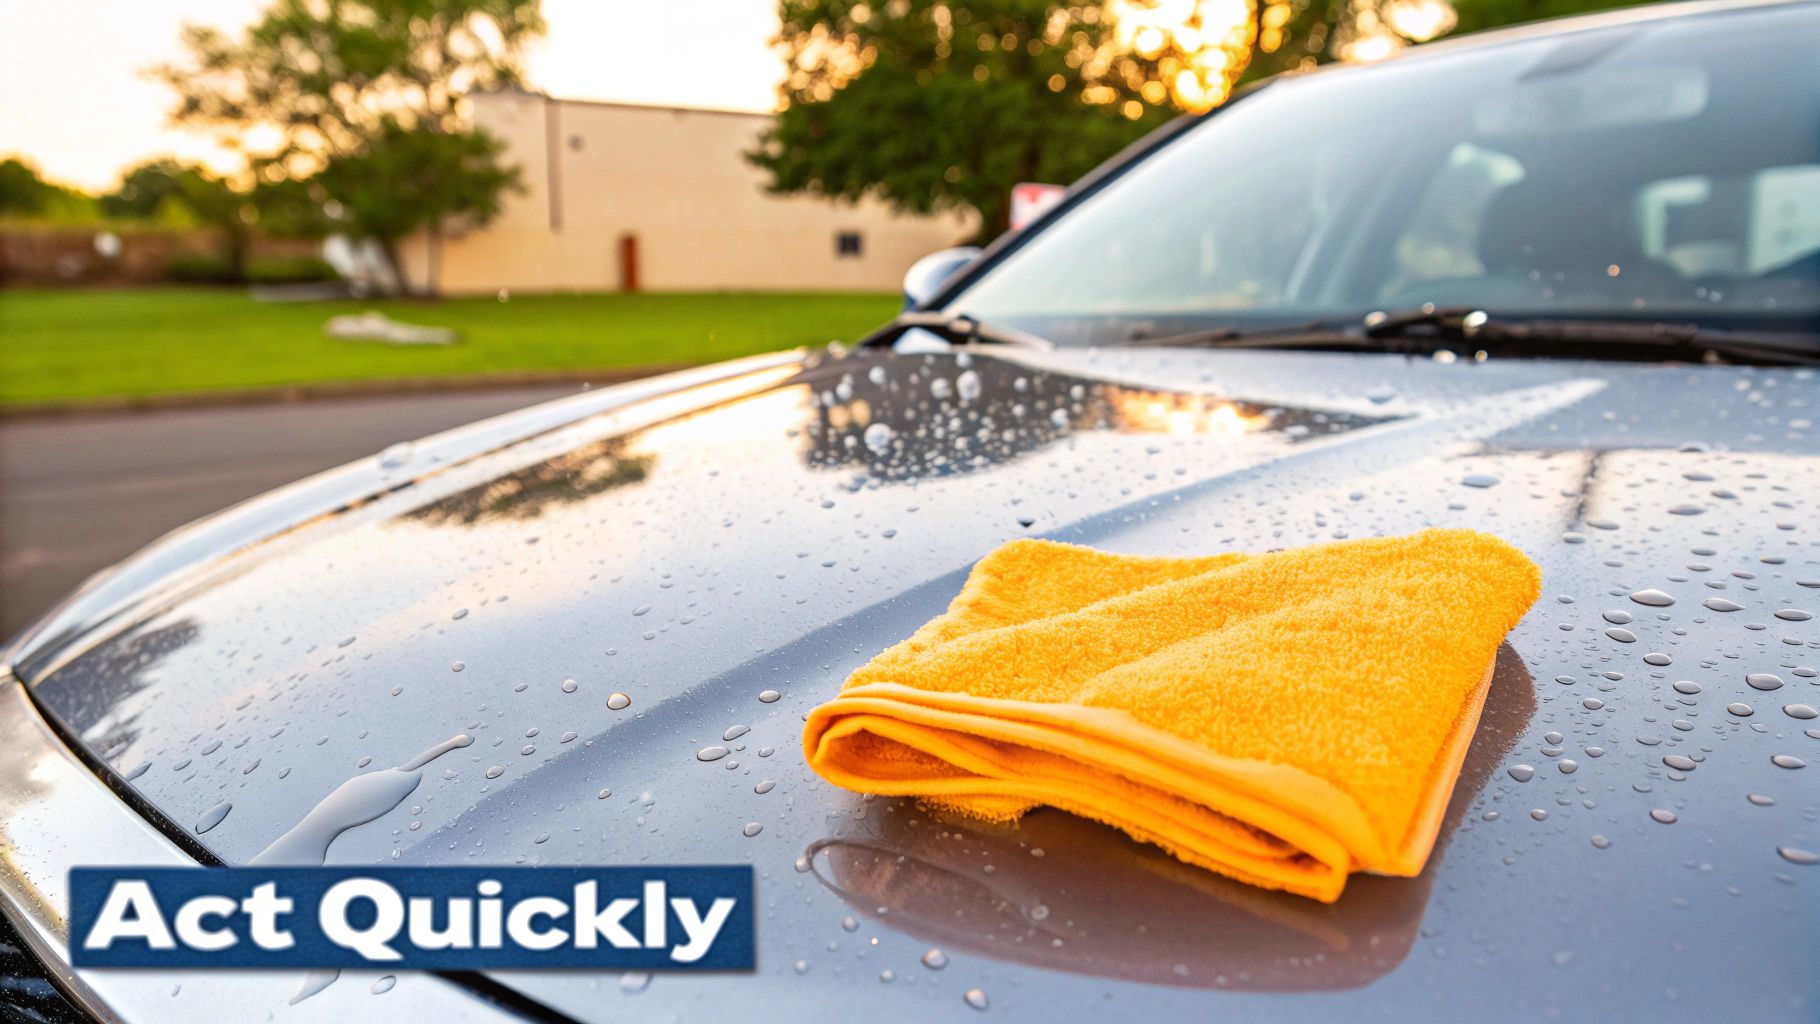
We’ve all felt that pit in our stomachs after hearing the telltale splat-splat-splat of driving through a freshly painted road line. What you do in the next few hours can be the difference between a simple fix and a professional detailing bill.
Before you do anything else, take a breath and assess the damage—without touching it. Is the paint still wet and tacky? Or has it already started to harden? The answer will guide your entire approach. Whatever you do, resist the temptation to grab a rag and start scrubbing. Frantically wiping at the paint, especially with a dry towel, will just grind its gritty pigments into your car’s clear coat, leaving behind a mess of scratches and swirls.
Your First Critical Steps
First things first: you need a clean slate. Gently wash the entire affected panel with a quality car soap and water. You have to get rid of any loose dirt, dust, or road grime before you start working on the paint itself. This step is non-negotiable; otherwise, you're just rubbing those abrasive particles all over your finish.
Once the area is clean, you can see what you’re really up against. Here's a quick rundown of the immediate dos and don'ts:
- Do act quickly. The longer that paint sits, the harder it bonds to your clear coat. Time is not your friend here.
- Don't grab sharp tools. Put down the razor blade or scraper. You will absolutely gouge your paint and turn a small problem into a big one.
- Do find some shade. Working in direct sunlight is a bad idea. The heat can cause your cleaning products to dry up too fast or even bake onto the surface, making things worse.
- Don't use harsh household chemicals. Stay away from things like acetone, paint thinner, or gasoline. They might take the road paint off, but they’ll likely take your car’s clear coat with it.
The biggest mistake I see people make is trying to force the paint off with sheer muscle. You have to let the chemical product do the heavy lifting. Patience is what saves your paint job, not pressure.
This isn't an uncommon problem, either. With road infrastructure projects on the rise, we're seeing more of this than ever. In fact, the global market for traffic road marking coatings is projected to hit $9.78 billion by 2032. All that new paint means a higher risk of getting splattered. If you're interested, you can explore more data on the road coatings market to see just how big this industry is becoming.
To keep things simple, here is a quick-reference table for what to do the moment you spot that unwanted splatter.
Immediate Action Plan for Road Paint Splatter
This table summarizes the critical first moves to prevent the paint from setting permanently on your vehicle's surface.
| Action Step | Why It's Important | What to Avoid |
|---|---|---|
| Stop and Assess | Determines if the paint is wet or dry, which dictates the removal method. | Touching the paint with your fingers or a dry cloth. |
| Clean the Area | Removes dirt and grime that could scratch the clear coat during the removal process. | High-pressure water jets aimed directly at the fresh paint splatter. |
| Move to a Shaded Spot | Prevents cleaning agents from evaporating too quickly and creating more residue. | Working in direct, hot sunlight. |
| Gather Proper Supplies | Using car-specific products (like bug/tar remover or a clay bar) protects your finish. | Household chemicals, abrasive sponges, or sharp tools. |
Following these initial steps sets you up for a successful and, more importantly, a safe removal process, helping you avoid turning a minor annoyance into a major repair.
Choosing The Right Weapon For The Job
When you find road paint splattered on your car, your first instinct might be to scrub it off. Don't. Getting road paint off your vehicle is all about finesse, not brute force. Using the right product for the job is the difference between a clean finish and a one-way ticket to the body shop. The secret is to start with the mildest cleaner possible and only escalate if you have to.
Believe it or not, for fresh, wet paint, you might not need a specialized chemical at all. A simple lubricant like WD-40 or a good automotive bug and tar remover can often dissolve the paint right off. These are designed to tackle sticky messes without eating away at your clear coat, making them the perfect first thing to try.
Starting With The Gentle Approach
For those minor splatters or paint that hasn't fully cured, you probably have something in your garage that will work. Think of this as the "easy does it" phase.
A high-quality bug and tar remover is your best friend here. These are specifically formulated to be tough on road gunk but gentle on your car's finish. They're built to handle substances like asphalt and tar, which often makes them surprisingly effective on fresh road paint too. If you need some ideas, our guide on the top tar removers for cars has some great, field-tested options.
What if the paint has started to harden, or a bug and tar remover just isn’t getting the job done? It's time to bring out the clay bar. A clay bar isn't a solvent; it works mechanically. You spray on a lubricant and glide the clay across the paint, where it literally grabs and shears off any contaminants sitting on the surface, including those pesky paint flecks. It takes a bit of time and patience, but it’s incredibly safe and leaves your finish feeling like glass.
The real secret is letting the product do the heavy lifting. Whether you're using a chemical solvent or a clay bar, forcing it with aggressive scrubbing is a surefire way to scratch your paint. A light touch and a little patience will always win.
When You Need To Bring Out The Big Guns
Let's say you're dealing with thick, fully cured paint—especially the tough epoxy or thermoplastic stuff they use for road lines. This is where you'll need something with more kick. Specialized automotive paint overspray removers are designed for exactly this scenario.
These are powerful, solvent-based cleaners that can dissolve cured paint without taking your car's factory finish with it.
But with great power comes great responsibility. Always test these stronger products on a small, hidden spot first, like a lower door jamb or the inside of a wheel well. The last thing you want is to create a bigger problem by damaging your clear coat.
To help you decide, here’s a quick breakdown of your options:
Comparison of Road Paint Removal Methods
This table gives you a snapshot of the different tools at your disposal. It's all about matching the right method to the specific type of paint you're dealing with, while keeping your vehicle's finish safe.
| Removal Method | Best For | Aggressiveness Level | Safety Notes |
|---|---|---|---|
| Bug & Tar Remover | Fresh, wet latex or acrylic paint splatters | Low | Very safe on clear coats. The ideal starting point for any paint issue. |
| WD-40 or similar lubricant | Light, fresh splatters and overspray | Low | Generally safe, but wash the area thoroughly with soap and water afterward. |
| Automotive Clay Bar | Cured paint flecks and light overspray | Low to Medium | Extremely safe but requires proper lubrication to avoid marring the paint. |
| Paint Overspray Remover | Cured, stubborn epoxy or thermoplastic paint | High | Effective but requires a spot test. Use in a well-ventilated area. |
Choosing the right approach is key. Start low and slow, and you’ll get that paint off without any collateral damage.
It's no surprise that we have more and better options than ever before. The global paint remover market is on track to hit USD 2.99 billion by 2032, fueled by new tech in auto refinishing and a big push for safer, eco-friendly products. This kind of innovation means everyday car owners get access to pro-level results. If you're curious about the business side of things, you can learn more about paint remover industry growth and see what's driving the development of these tools.
A Practical, Step-by-Step Guide to Removing Road Paint
Alright, you've got your supplies ready. Now for the actual work. The key to getting this right is patience, not brute force. If you rush this, you're almost guaranteed to scratch or damage your car's clear coat. So, find a shady spot, take a breath, and let’s do this properly.
This process is all about starting with the gentlest method first and only moving on to something more aggressive if you have to.
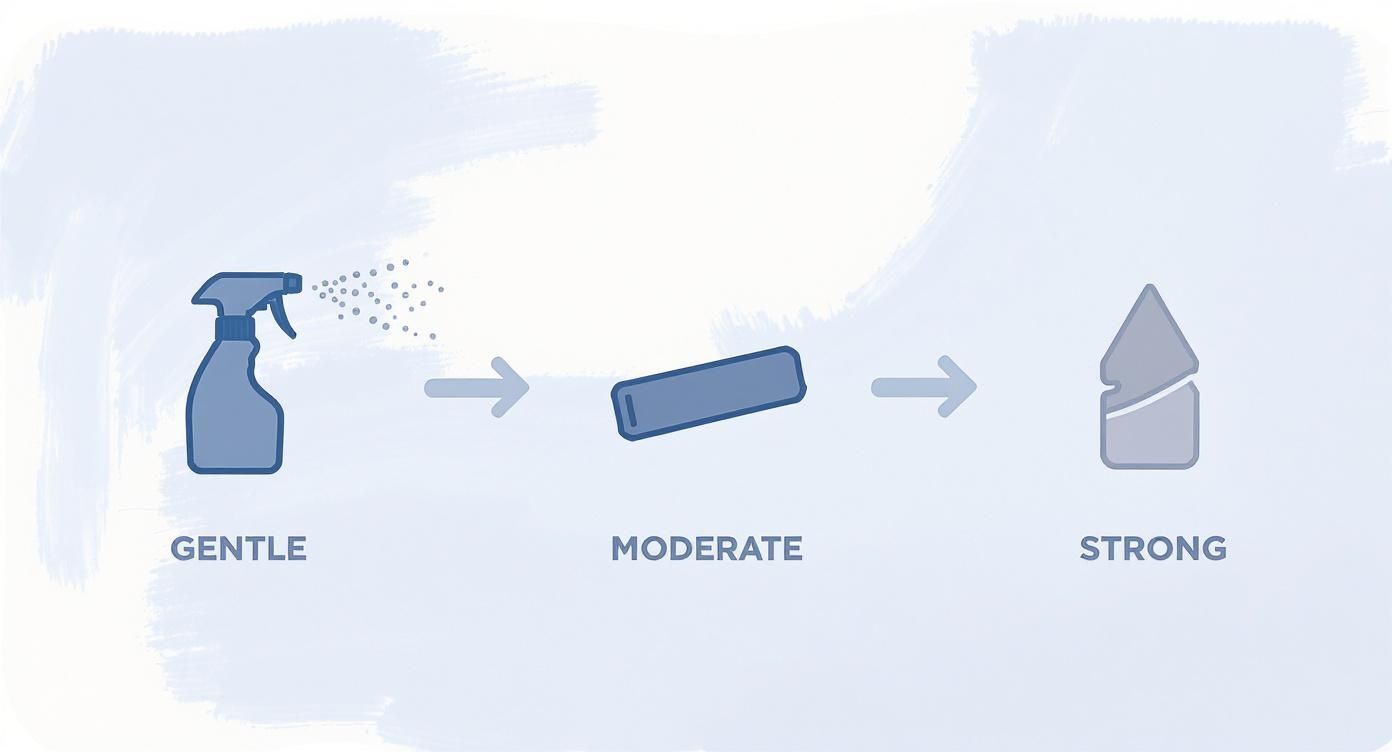
Think of it as a ladder. You always start on the bottom rung—something like a simple spray-on remover—before climbing up to a clay bar or a stronger chemical solvent.
The Spot Test: Don't Skip This Step
Before you go all-in on a visible panel, you absolutely must do a spot test. I can't stress this enough. This is your insurance policy against a nasty chemical reaction that could cloud, soften, or even strip your paint.
Find a hidden spot on the car. The inside of a door jamb or the painted area under the hood near the fender are perfect candidates.
Dab a little bit of your chosen product onto a clean microfiber applicator and gently rub it on that test area. Let it sit for a minute, wipe it off, and then get a good light on it. If the finish looks exactly as it did before, you’re clear to proceed.
Applying Your Remover the Right Way
Now that you know the product is safe for your paint, you can start tackling the road paint itself. The technique is pretty much the same whether you're using a solvent or a clay lubricant.
First, apply the product to your microfiber pad, not directly to the car's surface. This simple trick gives you way more control and stops the liquid from dripping onto plastic trim or headlight lenses where it doesn't belong.
Work in small, manageable sections, maybe 2x2 feet at most. Use gentle, overlapping circular motions to work the product over the paint splatters. The most important thing here is to avoid pressing hard. Let the chemical do the heavy lifting of dissolving the road paint.
You'll actually feel the process working. At first, the surface will feel gritty under your applicator pad. As the road paint starts to break down and lift away, it will get noticeably smoother. That change in texture is your cue that you're making progress.
Tips for Specific Products
Different products have slightly different rules of engagement. Here's a quick rundown of what to keep in mind.
- Chemical Solvents: These rely on "dwell time" to be effective. After you apply the product, you need to let it sit for the time recommended by the manufacturer—usually around 30 to 60 seconds. This gives the solvent time to penetrate and soften the paint before you gently wipe it away.
- Clay Bars: Lubrication is everything. The surface must be slick with lubricant the entire time you're using the clay. If you feel it start to drag or catch, stop immediately and spray more lubricant. The lube is what creates a protective barrier between the clay and your car's finish.
- Bug and Tar Removers: These are great multi-taskers. If you're also dealing with other sticky messes, the techniques are often very similar. In fact, our guide on how to remove tree sap from a car shares a lot of the same principles and might give you some extra insight.
As you work, remember to keep folding your microfiber towel to a fresh, clean side. If you don't, you'll just end up smearing the dissolved paint right back onto the car. With a little patience, you'll see those ugly specks vanish, revealing your car's flawless finish underneath.
What to Do After the Paint is Gone: Protecting Your Finish
Getting that stubborn road paint off your car is a huge win, but your work isn't quite done. The solvents, cleaners, and friction you used have almost certainly stripped away any wax or sealant protecting your paint.
This leaves your car’s clear coat exposed and vulnerable. Think of it like using a harsh soap that leaves your hands clean but dry and chapped. Your paint needs that protective layer put back, and this final step is what keeps your finish looking great for the long haul.
Prep the Surface for a Fresh Start
Before you can add protection, you have to make sure the surface is totally clean and neutralized. Any leftover chemical residue from the removal process needs to be completely gone.
Give the entire area a good, thorough wash with a quality car shampoo and rinse it well. This isn't a quick spray-down; you're washing away every trace of bug and tar remover, solvent, or clay lube. Once it's clean, dry the area completely with a soft, fresh microfiber towel.
Leaving even a tiny bit of solvent on the paint can cause problems later. A proper wash and dry ensures you’re applying protection to a truly clean surface, not just sealing in leftover chemicals.
Rebuild Your Car’s Defenses with Wax or Sealant
With a perfectly clean and dry surface, it's time to add back that crucial layer of protection. This is where a good car wax or paint sealant comes in. It’s not just about getting that glossy shine—it's about creating a tough barrier that shields your clear coat from UV rays, acid rain, bird droppings, and future road grime.
A protected car is also way easier to clean next time. When the surface is slick and hydrophobic, contaminants have a much harder time sticking.
You've got a few solid choices here:
- Carnauba Wax: The classic choice for a deep, warm glow. It's a favorite among car enthusiasts but usually only lasts a few months.
- Synthetic Sealant: These are engineered for durability, often providing up to six months of protection with a sharp, mirror-like shine.
- Ceramic Coating: The king of long-term protection. A ceramic coat can last for years, but the prep work is much more involved.
Applying wax or sealant is pretty simple. Using a foam applicator pad, spread a thin, even coat over the panel. Let it dry to a haze (check the product's instructions for timing), then buff it away with a clean microfiber towel to reveal a brilliant finish.
For a deeper look at keeping your paint pristine, check out our full guide on the best way to protect car paint.
Touching Up Minor Scratches or Marring
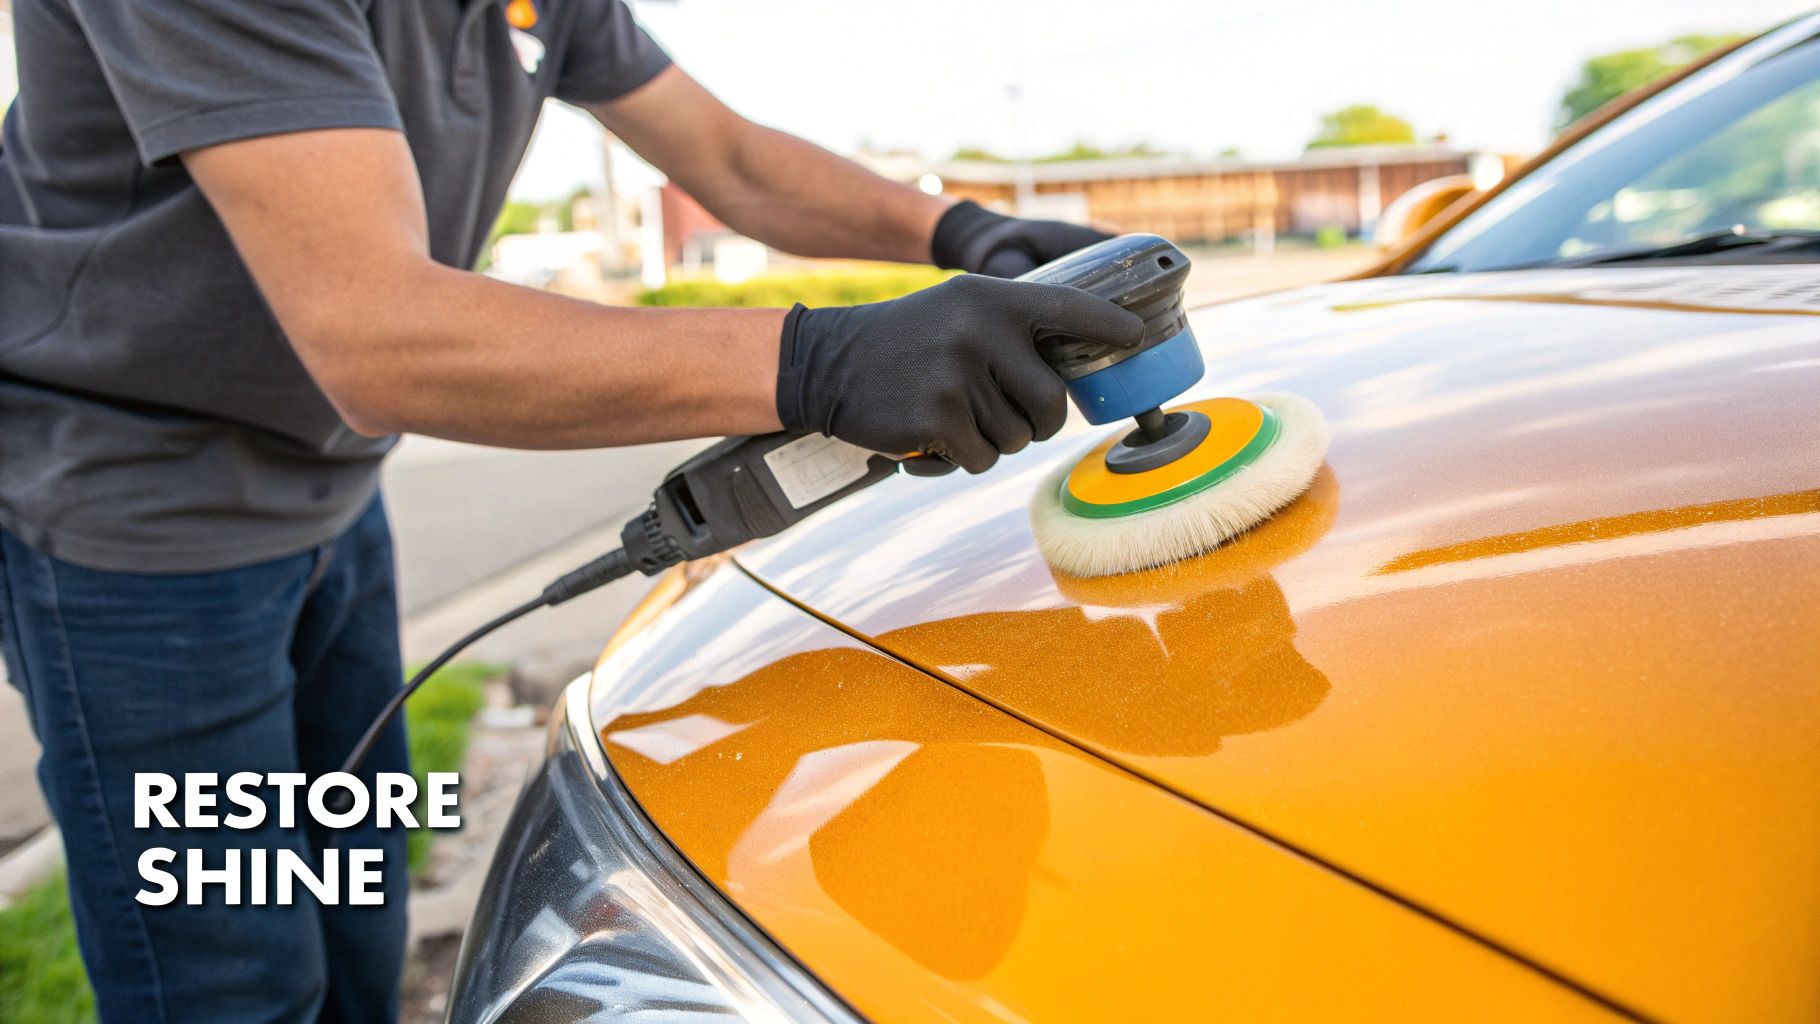
Did you use a clay bar? If so, you might see some very faint surface scratches, often called "marring." Don't panic—this is completely normal. It happens as the clay physically pulls contaminants off the paint.
The fix is easy. A light polish with a finishing compound will quickly remove any marring and restore perfect clarity to your paint. Do this before you apply your wax or sealant for the best possible result.
Common Mistakes to Avoid and When to Call a Professional
Knowing how to get road paint off your car is one thing, but knowing what not to do is arguably even more important. A simple DIY fix can quickly turn into a costly nightmare, transforming a small paint splatter into permanent damage to your car’s clear coat.
The single biggest pitfall I see is impatience. It's so tempting to grab an aggressive tool or a harsh chemical for a quick fix, but that's usually where things go wrong. Never, ever use things like razor blades, steel wool, or those green kitchen scouring pads. Trust me, they will absolutely scratch and gouge your finish, causing damage far worse than the original paint splatter.
The Danger of Using the Wrong Chemicals
On that same note, resist the urge to use heavy-duty, non-automotive solvents. Sure, chemicals like acetone, lacquer thinner, or even gasoline will dissolve paint. The problem is, they'll also dissolve your car's protective clear coat just as fast, leaving behind dull, hazy spots or causing the paint to fail completely. At that point, you're looking at a professional repaint.
Another classic mistake is working on a hot car in direct sunlight. A hot surface makes even car-safe products flash off too quickly, so they can't do their job. Worse, they can sometimes bake right onto the finish, creating a whole new problem. Always find a cool, shaded spot to work.
The whole point is to take the road paint off without hurting the factory paint underneath. If any method feels like you're forcing it or being too aggressive, stop. You’re probably doing more harm than good.
The good news is that the car care industry keeps getting better. The global automotive paint remover market is projected to hit $2.1 billion by 2032, driven by a huge demand for products that are safer for your car and the environment. You can discover more insights about the automotive paint remover market to see how new innovations are making better products available for everyone.
Knowing When to Call for Backup
Sometimes, the smartest move is to just put the tools down and call a professional. A DIY approach isn't always the right call, especially when the stakes are high.
It's probably time to call a pro if you're facing:
- Widespread Overspray: If the paint covers a huge area or multiple body panels, a professional detailer has the right equipment and experience to tackle it efficiently.
- Cured Epoxy or Thermoplastic Paint: This stuff is designed to be incredibly durable on the road, which means it's a real bear to remove. It often requires specialized solvents and techniques.
- Matte or Custom Finishes: These surfaces are notoriously sensitive and can be ruined in an instant. They demand very specific products and a ton of expertise.
If you’re dealing with stubborn, widespread paint, or if you just don’t feel comfortable tackling it yourself, your best bet is to seek out quality auto repair services. They'll get the job done right without risking your car’s finish.
Got Questions About Road Paint Removal? We’ve Got Answers.
Even after walking through the whole process, you probably still have a few things on your mind. That's perfectly normal. Let's tackle some of the most common questions that pop up when you're staring down those stubborn yellow or white splatters.
Can I Just Use Gasoline or Acetone to Get This Stuff Off?
I get why you'd ask this. In theory, harsh solvents like gasoline and acetone will absolutely dissolve paint. But using them on your car? That's a recipe for disaster.
These chemicals are far too aggressive for automotive finishes. They can—and often do—soften, dull, or completely strip your car's clear coat right off. You'll trade a few paint splatters for permanent hazy patches or even total paint failure. Trust me, the resulting body shop bill is not worth the shortcut.
Expert Tip: Never reach for household chemicals or shop solvents. Stick with products made specifically for cars, like a good bug and tar remover or a dedicated paint overspray remover. They're designed to break down the road paint without eating away at your car's finish.
What About Paint on Plastic Trim or in the Wheel Wells?
This is a great question because plastic requires a different touch. Those textured, unpainted plastic parts on your bumper, trim, and wheel wells are more sensitive and can be a real pain to clean.
Here's how to approach it:
- Go for the gentle stuff first. Grab an all-purpose cleaner or a bug and tar remover that clearly states it's safe for plastics.
- Don't spray directly on the plastic. To avoid making a bigger mess, spray the cleaner onto a microfiber towel first, then gently work it into the affected area.
- Bring in a soft brush. For those notoriously tricky textured surfaces in the wheel wells, a soft-bristled detail brush is your best friend. It helps you work the cleaner into all the little nooks and crannies without scratching the plastic.
Whatever you do, don't even think about using a clay bar on textured plastic. The rough surface will just shred the clay and embed it into the trim, leaving you with an even bigger problem. Always test your chosen cleaner on a hidden spot first.
Will My Pressure Washer Blast the Paint Off?
It's tempting to think you can just power-wash the problem away, but it's usually not that simple—and it can be risky.
A typical pressure washer from your local hardware store probably won't have the force to remove cured road paint. Even if it did, you'd be risking serious damage. High-pressure water can easily chip your car's paint, especially on panel edges or if the paint is older. Worse, it can force water past seals and into places it should never be.
It might help if the paint is literally still wet, but for anything that's had a chance to set, you'll need the chemical and mechanical methods we've already covered. They're much safer and way more effective.
How Do I Know if the Paint is Water-Based or Oil-Based?
Honestly, unless you're a chemist, it's nearly impossible to tell just by looking.
You can make an educated guess, though. Temporary lines for road work are often a less-durable water-based paint. The permanent lines on the road? Those are usually tough, long-lasting materials like thermoplastic, epoxy, or solvent-based paints.
Your best bet is to just start with the most gentle removal method. If a quality bug and tar remover isn't making a dent after a few patient tries, you can assume you’re dealing with something more stubborn. That's your cue to either step up your game to a more intensive product or consider calling in a professional detailer to save your sanity.
For a truly effortless car wash experience that preps your vehicle perfectly for any detailing job, the SwiftJet Car Wash Foam Gun is the ultimate tool. It turns any garden hose into a foam cannon, making cleaning faster and more effective. Discover the SwiftJet difference and upgrade your car care routine today!